Monday, March 28, 2011

Clean Up Wars

What!? It's been almost three months since my last post. There's just been too much stuff happening that's been keeping me from maintaining my blog. One such thing is Facebook. Yes, I recently just got into the Facebook at my friend's behest. I feared that getting into FB will prove to be too addictive and with all the things that have happened; My worst fears have been realized. I've also been dealing with a crap load of work that just doesn't seem to let up despite the recent disasters in Japan. I guess anime continues on despite quakes, tsunamis and nuclear fallout threats. It's actually good for me financially. My personal activities are a different story though. Okay, so enough of my excuses I've managed to come back my senses and hopefully I can blog at a consistent rate.

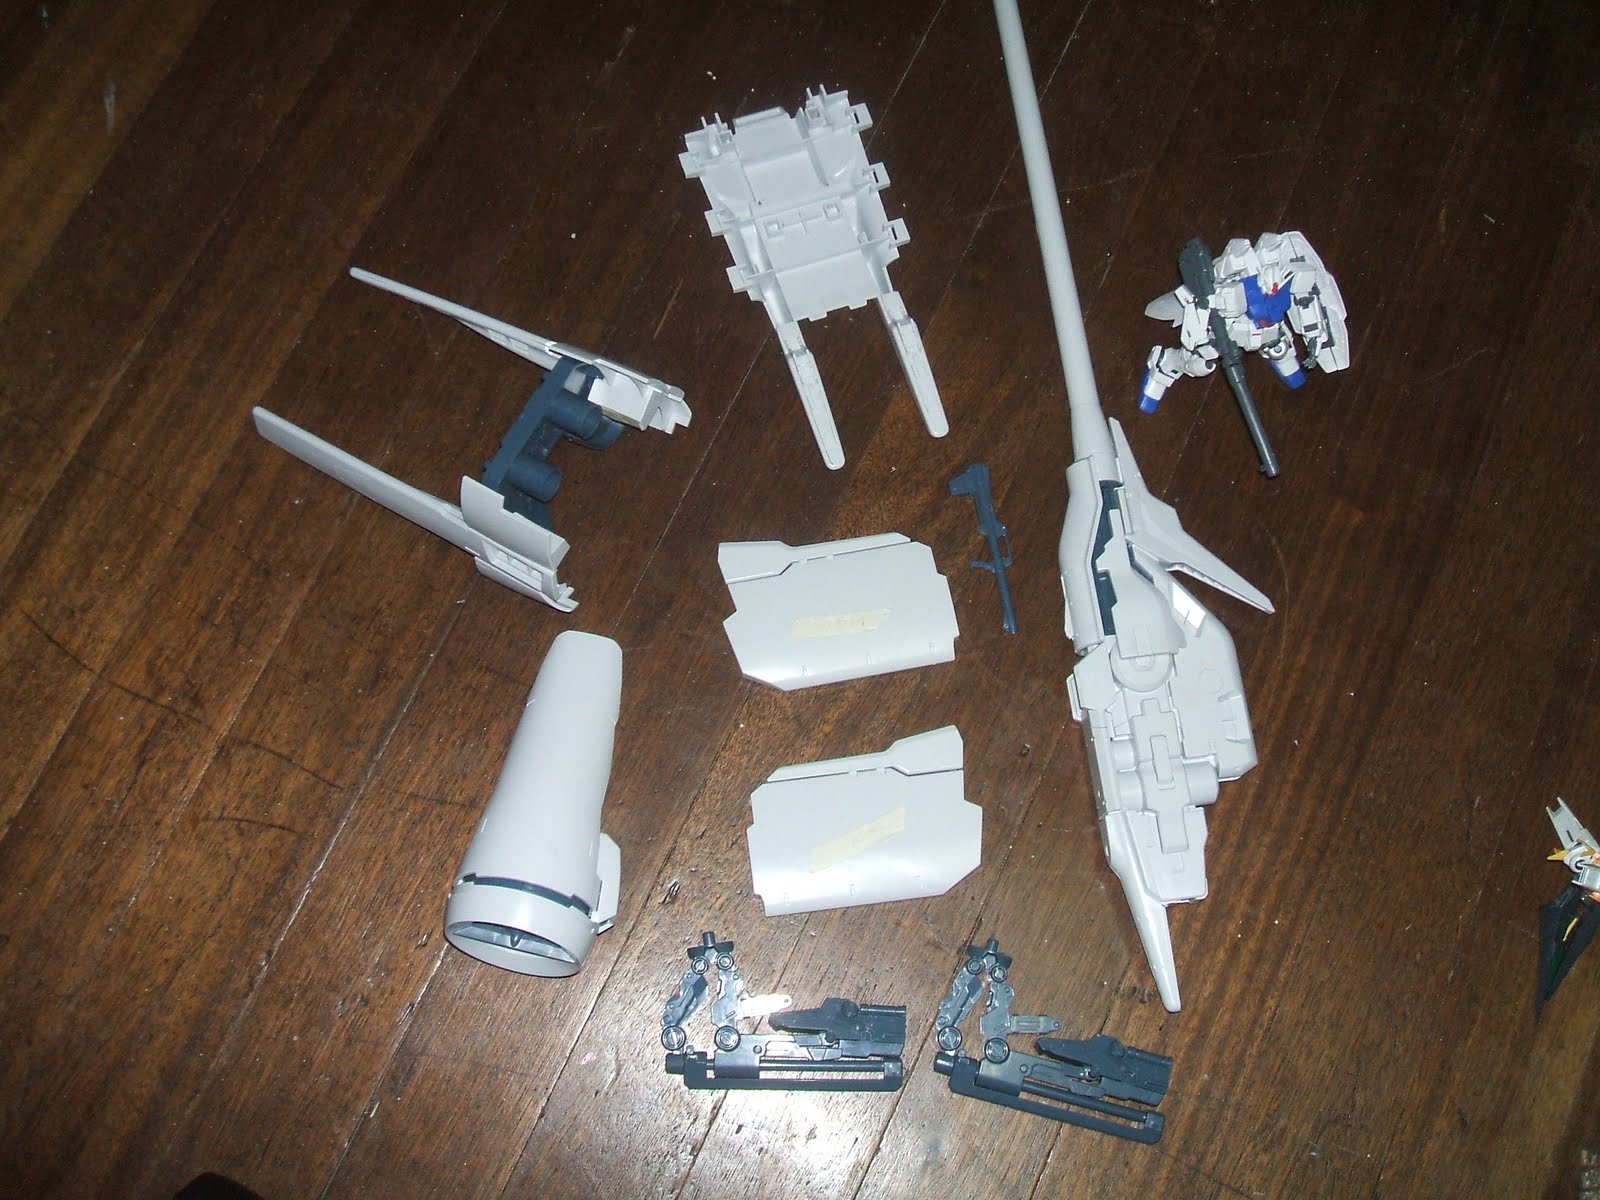
Moving on, I just decided to post some pics my twice a year ritual which I've recently called my Clean Up Wars. The pictures can explain themselves.

First, the Good guys (Yay!)


Next, the Bad Guys (Boo!) 


 Overall


The rest of the pics are HERE.


Funny thing is; This doesn't reflect the current state of my collection. At least after my mad Christmas shopping spree last year. I swear doing this gets harder every year hut I still do it nonetheless to dust off my collections and their display cases lest I should suffer from allergies (hence the clean up wars). I also do this to reshuffle my collection since looking at the same old arrangement can really boring after a long time. It took me a whole day to take them out of their cases clean them and put them back. I think it wouldn't have taken too much time had I not ended up staring at them in awe at certain points during the cleanup. Looking at all them group really gives me a great sense of accomplishment especially as this is 11 years in the making. True, some may scoff at me for buying such things and tell me that I should focus on the things that "normal" people of my age want but this what I want for the time being. I do acknowledge the fact that one day I'll have to give up and go for  "normal people" stuff, but I just want to enjoy this for the moment and I don't want to look back at the things I should have done. I'll just do my best and see how far I can go until the time comes, I guess. 

    Anyways, maybe some of you may notice a certain large object in the pic. Something that I've been saying that I will document on a few posts ago hehe. Well there's a awkward/funny story about that, but I'll save that for next time.

Saturday, December 18, 2010

GNY001F2 GNHW/A Gundam Astraea Type F2 GNHW/A


Photobucket


       Okay, let's start with this one. Here is my entry for the Bandai Model Kit World Cup 2010 which was held in the Eastwood Mall from November 5 to November 7 2010. This was one of the distractions I mentioned earlier and it even caused to be sick for almost a week due to lack of sleep from working on it.


Photobucket


           I didn't win the competition but at least I got a certificate for my participation in the event. Of course winning wasn't my original intention for joining the competition (although the idea of winning is a nice thought.) but to get some actual practice in painting a Gunpla with the idea of the competition looming ahead serving as a deterrent for slacking off. This was originally an HG 1/144 Gundam Exia converted to an Astraea from the conversion parts included in the Dengeki Hobby Magazine a couple of years back. With the release of the HG Gundam Astraea I decided to experiment on this one as an entry for BMKWC 2010 as I no longer had the fear of messing up and losing my unique but now obsolete Astraea. I decide to use purple for the main colors as I found some inspiration in purple bad guys like Galvatron and Kamen Rider Ohja. I also added some special equipment to the Astraea which I will discuss later. So here's the details on my entry. Pardon the crappy pics as I was using a different camera when I took these.


GNY001F2 GNHW/A Gundam Astraea Type F2 GNHW/A 


Photobucket

This is a GN Heavy Weapons (GNHW) version of the Gundam Astraea that I thought off where A means Assault. Designed to increase the firepower and defense capabilities of the Astraea and also give it the ability to adapt to the conditions of its current mission. Here's some info on the equipment of the assault pack.

GN Variable Launcher

Photobucket
      
    The main weapon in the GNHW-A system. A customizable beam launcher that can change its output and rate of fire through various attachments. The Default  form  of the launcher allows it to fire blasts similar to Seravee/Virtue which also consumes a lot of energy. It has an onboard GN Drive to supply its own energy requirements without relying on the mobile suit's GN Drive. TransAm can be activated for the weapon itself to increase its capabilities three times . Recharging can be sped up with some help from the mobile suit's GN Drive. It also has two beam guns for missions not requiring high energy bombardment and four GN blades in front for piercing GN Fields with the GN Drive providing additional thrust, making it an effective stabbing weapon.The launcher can also function as an additional booster unit.

GN Variable Launcher Gatling Mode


Photobucket


 The launcher equipped with the Gatling attachment. It allows the launcher to fire weaker rapid fire shots.


GN Variable Launcher Saber Mode

Photobucket

The Launcher with the Saber attachment equipped. It focuses the beam energy into a large Beam Saber.

Anti-Field Grenade Launcher

Photobucket


I was originally going for missiles but I felt it was overused so I went with Anti-Field grenades instead. Anti-field grenades are the ones used by the GN-X III in Gundam 00 season 2 during 00 Gundam's debut  that diffuses beam weapons. I figured this was a weapon worth having on a gundam to protect itself from beam attacks or screw your opponents over if they are using beam weapons.

GN Shield II
Photobucket

Photobucket

Photobucket


An upgraded GN Shield capable of emitting a GN Field large enough to cover the entire mobile suit. The field strength, however, is inferior to that of  Seravee/Virtue and can't hold up against powerful beam blasts (e.g. GN Mega Cannon, GN Bazooka). It mounts a hidden beam saber and contains two GN combat knives for closed range combat.


So that covers all the stuff about my GN Heavy Weapons Astraea. Overall, I'm not completely satisfied with the way this project turned out  but then again I only had two months to work on this. There were also other factors like budget restrictions, schedule conflicts  and the weather being uncooperative. The good part though is that I learned how to spray paint my Gunpla and I was able to apply the stock knowledge I had accumulated through tutorials and hobby magazines. This also my first success in kitbashing/ scratchbuilding custom parts which I found to be a difficult yet enjoyable activity. This would be the last time I paint using Spray cans as I am moving on to Airbrushing which would prove to be inexpensive and less wasteful in the long run  as soon as I have my AB setup prepared. I'll probably revisit this design again once my I get some new ideas.
 
 The rest of the pics can be found here:


No, I'm not dead. I just forgot I had a blog

         The title says it all. Well this is kind of embarrassing. A lot of stuff has happened for the past three months. Very interesting stuff, I might add which I wasn't able to document in real time. . Due to too much work deadlines and other distractions I wasn't able to post some stuff and even forgot about my blog. So now, I have post some catch-up stuff for the following days ,so I can give you guys an idea of what I've been up to this past three months.

Thursday, September 2, 2010

Dendrobium Project Start!

     I did this one three days ago, but I was only able to document this today because of my busy schedule and a few distractions along way. No major progress though, just assembled some of the components to determine the  parts that don't need to be painted (in order to save time and paint.). Some of these components will be disassembled afterward for seam removal,priming and painting after washing the parts, of course. Here's a pic.
        As previously mentioned the Stamen (MS) and  beam sabers were assembled a week ago. I really wasn't supposed to assemble the mega beam cannon and I-field generator, but curiosity got the better of me. Besides, I did trim the pegs to make the connections a bit loose so that I can dismantle them easily when needed. Anyways, here are some additional pics:
I-Field Generator (Front)- note that I am using the part that shows the I-field generator being activated.

 I-Field Generator (Side)

Size comparison with the 1/144 HG GP03S Stamen.
Size comparison of the mega beam cannon with the stamen

Another size comparison, the cannon is really tall.
       Just a warning to future 1/144 Dendrobium owners, the barrel of the cannon takes a lot of strength to join together, I actually had to sand the connections and still had to use excessive force the tip of the barrel to the main barrel.This part actually scared me a bit as I had to force it down while still being careful not to break it. I think I did hear in some reviews that it takes some brute force to join certain parts together or maybe I'm just out of shape. Okay enough about that here's some more pics:
Platform for the Booster (I don't know what it's really called) and rear fin(side) for the Orchis, I will have to paint/detail  these first before I can connect the boosters. 
Arm base for the claws of the Orchis. I realized that this pic is crappy a bit too late and I regret that I wasn't able to take multiple shots.
Cover for the weapon containers, I built 2, oh and the same goes for the arm base.

Rear fin (upper) of the Orchis.


I somehow forgot to take some close up shots of the stand which I also built. I'll just have to make do with this. Its the gray one at the bottom I'll post a more detailed pic next time.
So far those are the parts that I have built. I am actually resisting the urge to build other parts any further as some of the parts that I have built will be sandwiched between other parts. So I have to finish these first before moving on to the next ones. Before I end this, I decided to fool around with mega beam cannon and my Gundam 00 1/144  HG's a bit and the results....  


                                   Setsuna and co.'s answer to Team Trinity's High mega launcher. Anybody who has watched Sentai(s) in the Philippines during the 80's/90's would know what this is.


Hopefully I can show pics of the parts being puttied/primed once I make some significant progress in this project.

Monday, August 30, 2010

Dendrobium Unboxing


                  One post after another, I am starting to find blogging interesting if not addictive.

                  Anyways, I kind of did this a couple of weeks ago already. Better Late than never I guess...

       First, some pics of the box at four different angles.         


                Notice the Psyco Gundam in the two pics. I just put ithere fore size comparison. Indeed, the box towers over the almighty Psyco Gundam.

                                  Just fooling around before opening the box.
Psyco Gundam tries to pushes the box but to no avail.
  
Emergency! Unknown Object detected!


                    Alright now on to serious stuff, Upon opening the box we get...

A fully assembled Dendrobium... or maybe not.
             Joking aside, upon opening the box we get two smaller boxes labeled Container A and Container B.


When taken out of the Big box the two containers form two halves of one of two images.

Image1:  Image of Dendrobium (Front)


Image 2: Dendrobium (Lineart Side View)


              I was supposed to take it out the parts one by one from the each box and take pictures of each but I seem to have mixed up the parts when I inspected each runner back at the shop. And to think the parts  were originally put in the boxes in a specific order so that you'll  only get the specific runner from the box when you follow the assembly sequence in the manual.(You start at Container A then B.) Plus I admit that I got a bit lazy (And we're off to a good start... sigh) to take pictures of individual runners. So i simply opted to lay them in the floor and take group shots.


           This kit also contains  a bunch  of  screws for connecting/closing up various parts and springs for the deploying mechanism the weapon containers. Three metal plates are also included to support the structure of the Orchis' main body thus preventing it from collapsing from its own weight. (Probably due to the weapon containers.)


          You'll probably notice the GP03 Stamen in one of the pics. Actually I assembled that a few days earlier
 just to hold off the urge to straight-build this whole thing. Plus I didn't see any problems in painting the Stamen after assembly compared to the Orchis. A little pic of the stamen runners:


I also assembled the beam sabers out of the fear that they will be bent or have stress marks if they stay any longer in the box, along with the other parts.
One beam saber blade is slightly bent as I suspected.
     From what I have read in other reviews, the beam saber blades (or beams) are for Perfect Grade models. I don't really know since I haven't had a Perfect Grade before but I let my old HG ZZ Gundam hold it and the result...
The ZZ Gundam gets a longer Hyper Beam Saber.
    
So that's it for the unboxing of the HGUC 1/144 Dendrobium . I'll probably do some pre-assembling of the parts to determine which parts are going to be hidden during assembly in order to save some paint and time. I also need to find parts where the paint is most likely to be scraped off (mostly on moving parts)before I can start painting/detailing. Hopefully I can cover these things by tomorrow if my work schedule permits it.